In this post, I am going to show you that how a new widget/Gadget is added to a blogger template.
1. First of all go to
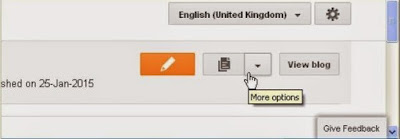
www.blogger.com and sign in using your Gmail ID. After sign in, blogger dashboard page appears. Click on the arrow pointing downward located at the right upper corner of the blogger dashboard page as shown in the image below:
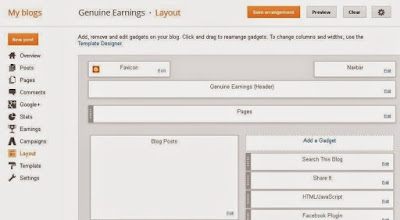
2. After clicking on this button, a list appears. Select "Layout" from the list. The following page appears:
3. On this page, you will see many options of "Add a Gadget". There are different locations on this page on which you can put a gadget. Click on "Add a Gadget" on a suitable place.
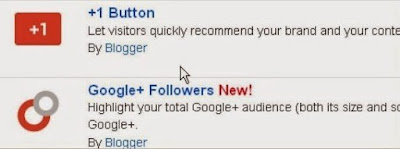
A page appears on which different gadgets are listed as shown in the image below:
4. Select a gadget according to your choice and click on it or click on the + sign:
5. After clicking on the gadget, save it and its done! Now check your blog and you will see that the gadget/widget is appeared on the blog.
If you want to place a third party/Custom gadget to your blogger template, Simply go to step 3. (The page in which default blogger gadgets are listed)). Go down the list until you find "HTML/JavaScript".
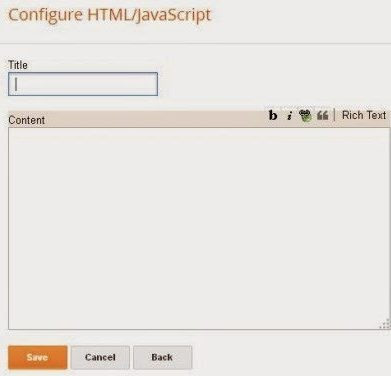
Click on "HTML/JavaScript". The following page appears as shown below:
In content portion, paste the HTML/Java code of the gadget/widget and click "Save". Now check the blog and you will see that the Gadget is appeared on the blog.
You also want to read Blogger Settings: Basic/Necessary Settings for a Blog


The post is utterly fantastic! Countless of great details and encouragement both of that everyone really needs! airsoft guns
ReplyDelete